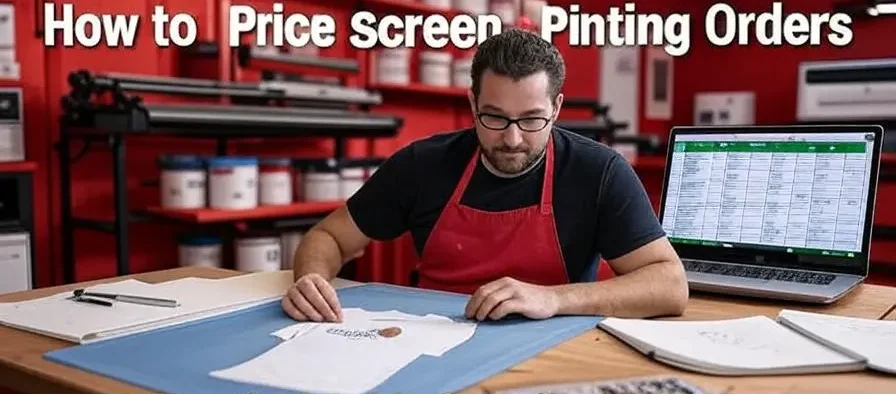
Pricing is the backbone of a successful screen printing business. Striking the right balance in pricing can determine your shop’s profitability. Set your prices too high, and you risk losing customers to competitors. Price them too low, and you may expend significant effort without achieving adequate profitability.
Finding the right pricing strategy is key to ensuring your shop thrives. Whether you’re launching a new print shop or refining your existing pricing structure, this guide will help. Use these steps to accurately and profitably price your screen printing orders, ensuring your business thrives in the long term.
Step 1: Understand Your Costs for Effective Screen Printing Pricing
To set profitable prices, you must first know exactly what each job costs your business. Costs in screen printing fall into two categories: fixed (overhead) and variable (per order).
- Fixed Costs (Overhead): These include rent, equipment payments, utilities, insurance, software subscriptions, and salaries. Spread these costs across your orders to understand their impact on pricing.
- Variable Costs (Per Order): These consist of blank garments, ink, emulsion, screens, tape, chemicals, shipping supplies, labor for setup, printing, and cleanup, as well as packaging materials.
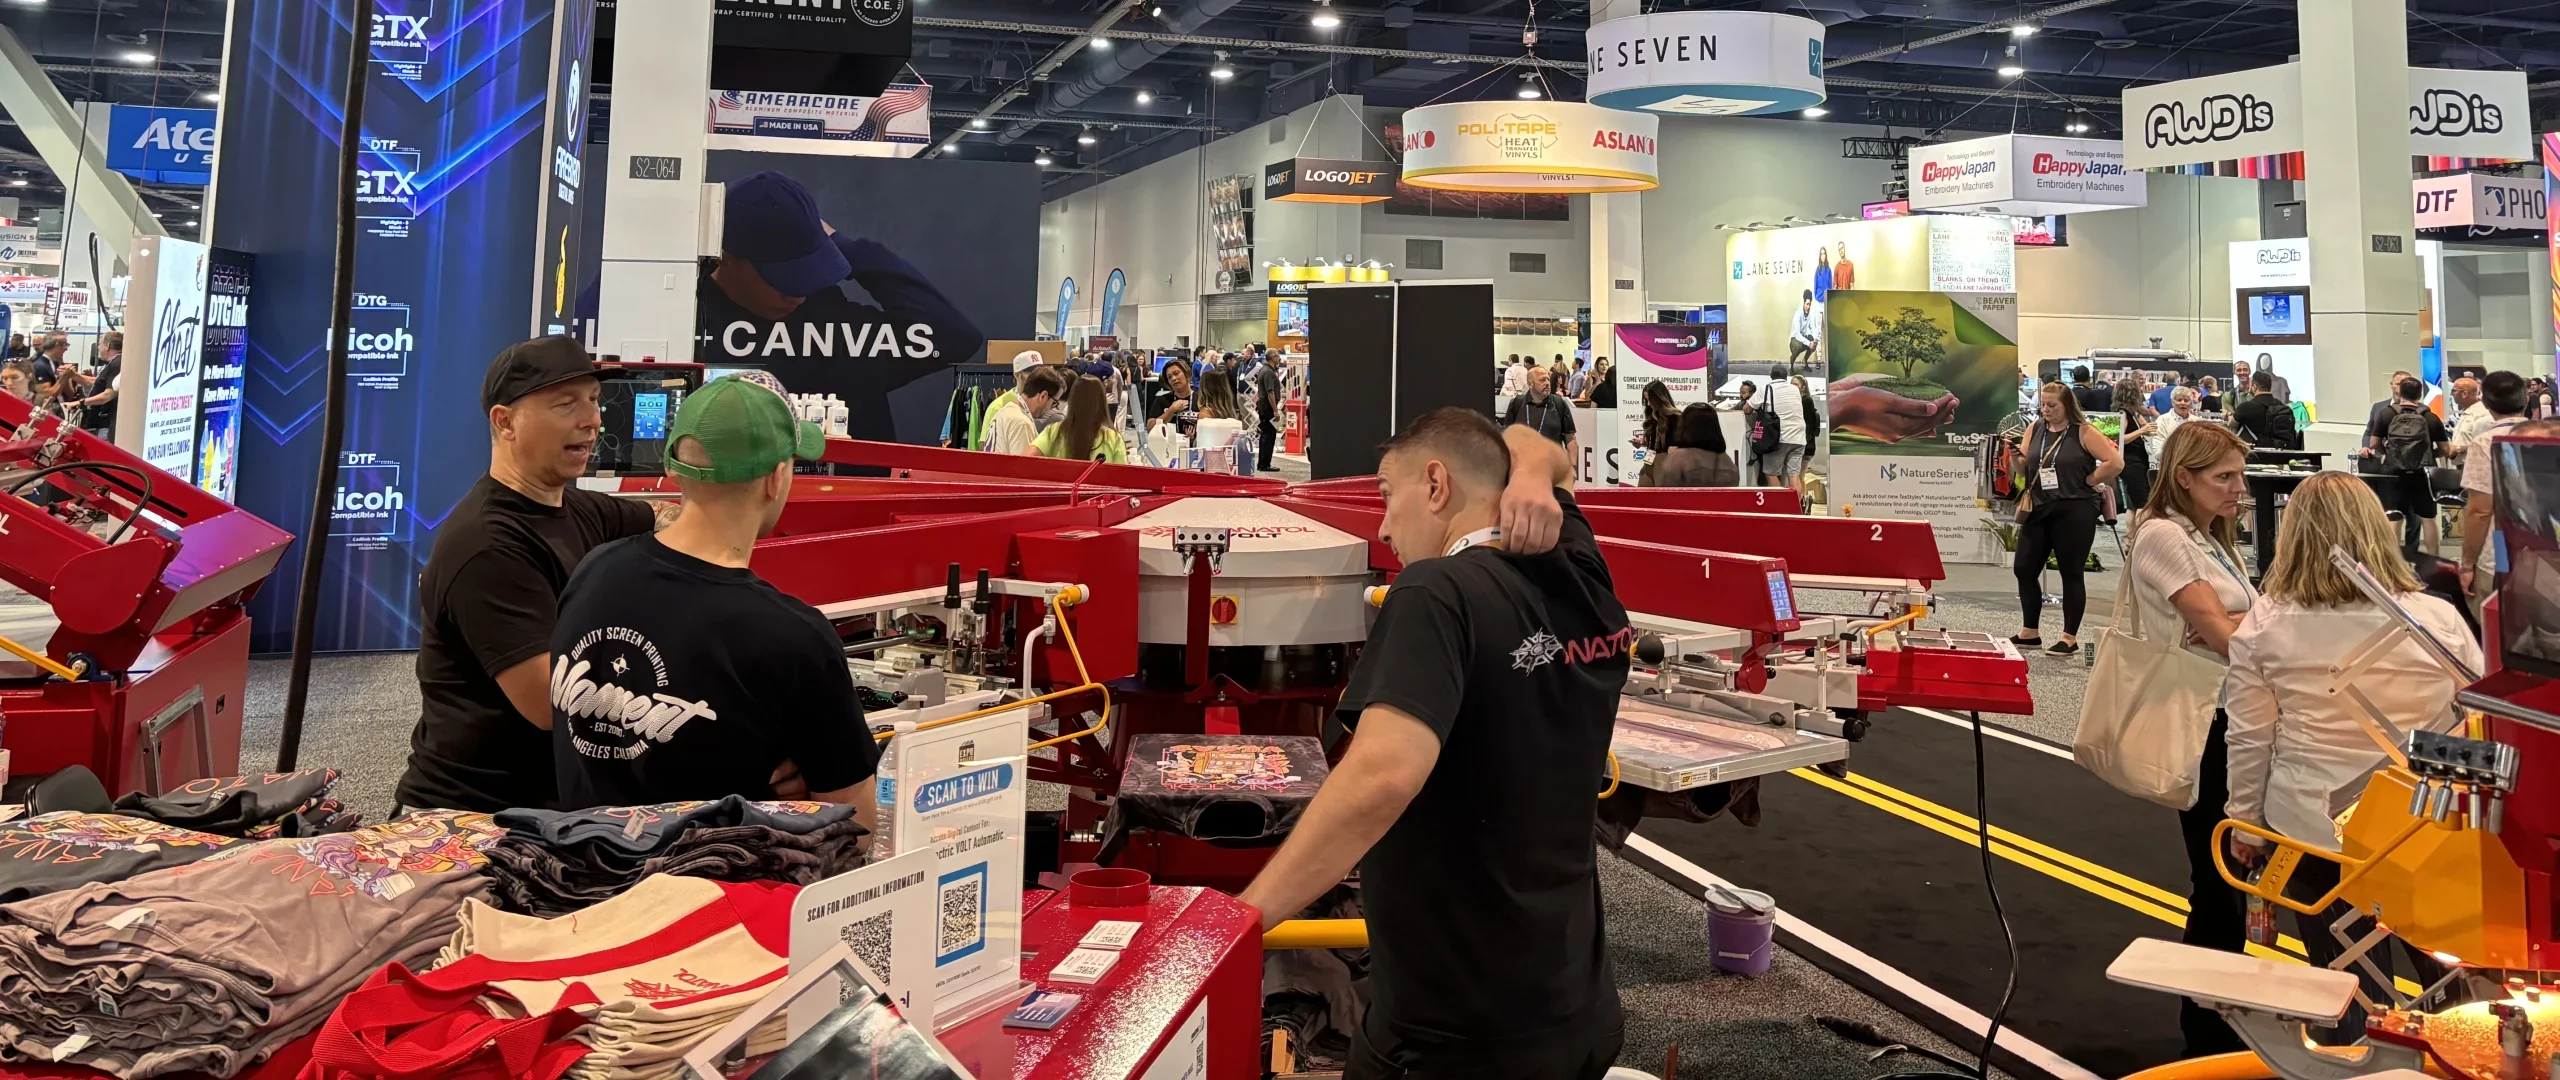
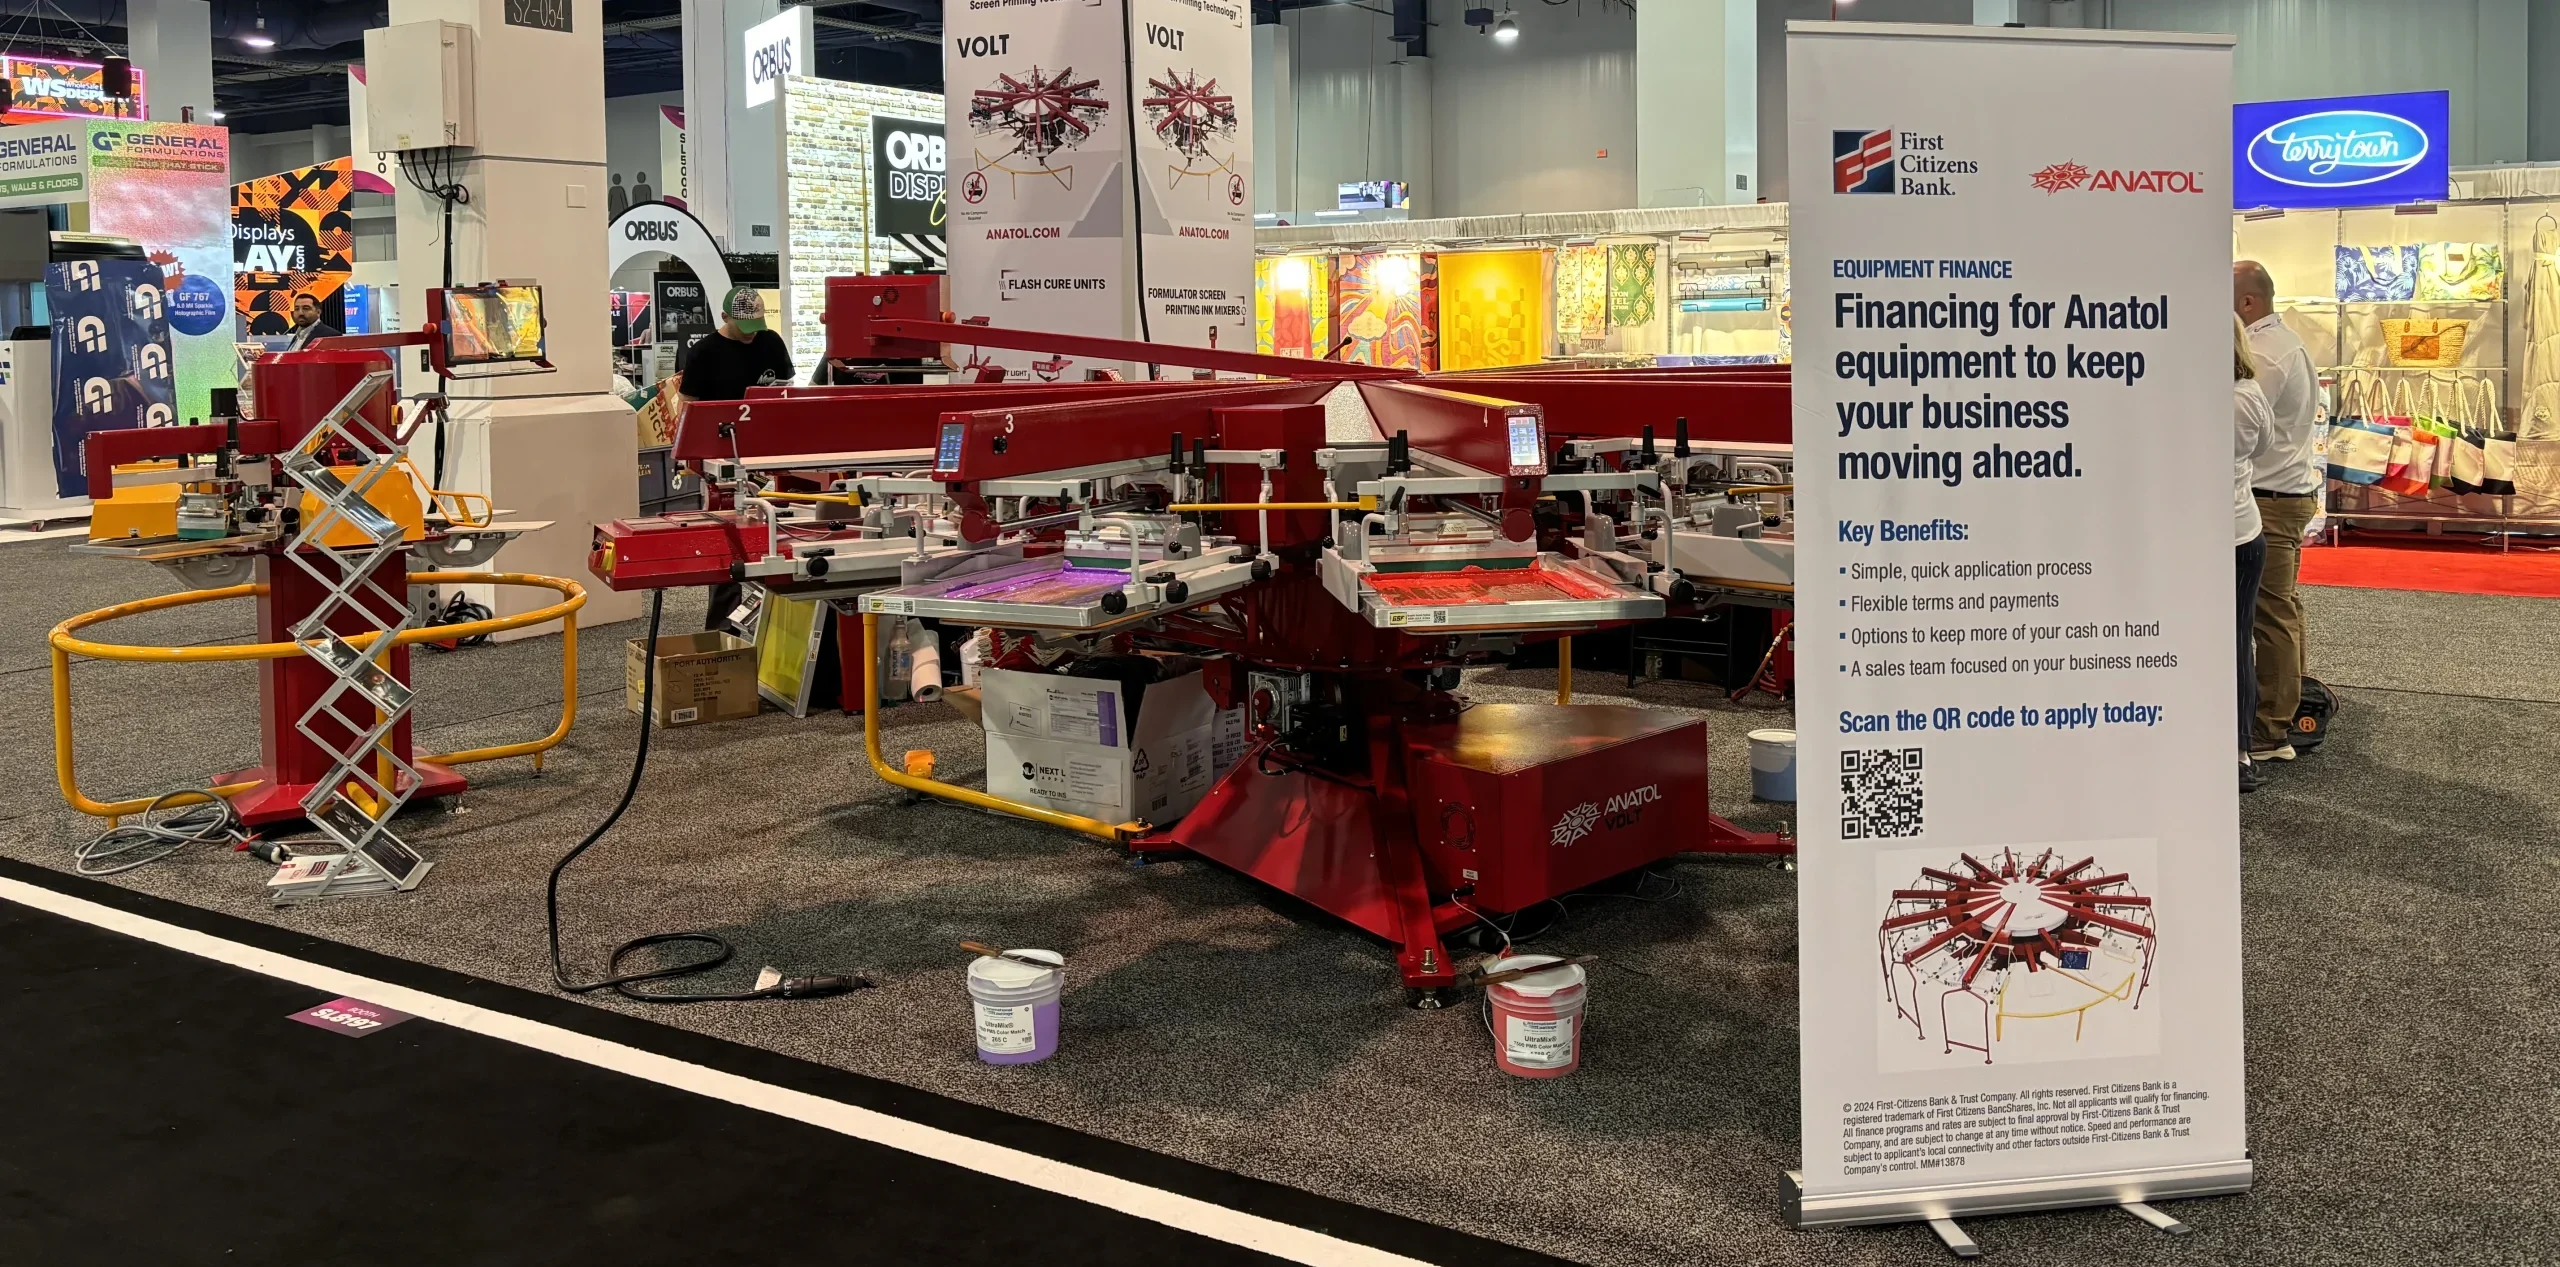
Pro Tip: Use a detailed cost sheet for every job to track expenses. Overlooking hidden costs, such as tape or cleaning supplies, can significantly reduce your profitability. For efficient production, consider automatic screen printing presses to reduce labor costs. You can also use our ROI calculator to quickly estimate profitability and make informed pricing decisions.
Step 2: Account for Labor and Time
In screen printing, time is one of your most valuable resources. Setup is often the most labor-intensive part of the process, so be sure to factor in:
- Time to create artwork and color separations
- Screen setup and registration
- Printing time per garment
- Cleanup and screen reclaiming
Small orders can be particularly time-consuming because of the setup process. Without proper pricing, your hourly rate could drop significantly. Consider using exposure units to streamline screen prep and save time.
Step 3: Set a Minimum Order or Flat Rate
To safeguard profitability, establish a minimum order size, such as 12–24 garments, or charge a flat rate for smaller orders. Since the setup process for five shirts is nearly the same as for 50, a minimum order helps prevent losses on small runs.
Example: Charge a flat $50–$75 for orders under 12 shirts to cover setup costs. This keeps your shop efficient and profitable.
Step 4: Implement Tiered Pricing for Volume
Screen printing becomes more cost-efficient with larger orders. Reflect this in your pricing with tiered rates. Calculate margins carefully to ensure profitability at each tier. High-volume orders may benefit from Anatol’s Vindicator series for faster production.
Step 5: Decide on Screen Fees
Screen setup fees can be handled in two ways: as a separate charge or built into the per-shirt price. Options include:
- Charging a flat fee per color/location (e.g., $20–$30)
- Increasing per-shirt prices for small orders to cover setup
- Waiving fees for large orders to incentivize bulk purchases
Be consistent and transparent with your policy to avoid confusion and maintain customer trust.
Step 6: Include Art Charges
Artwork creation is often undervalued. Clearly define charges for:
- Custom designs
- Revisions beyond a set limit
- Vectorizing or color separations
Charge hourly rates based on complexity (e.g., $50–$100/hour) to ensure your art team’s time is valued.
Step 7: Factor in Specialty Printing and Add-Ons
Specialty services require additional time and materials, so include upcharges for:
- Metallic, puff, or glow-in-the-dark inks
- Oversize prints or multiple placements
- Sleeve or neck prints
- Printing on challenging fabrics like nylon or performance wear
- Rush orders
Explain these costs to customers to justify the added value. For specialty inks, consider Anatol’s screen printing supplies for high-quality results.
Step 8: Add Your Profit Margin
Once you’ve calculated your costs, add a profit margin. A 30–50% markup is standard, depending on your market and competition.
Example: If your per-shirt cost (including labor, materials, and overhead) is $6, and you want a 40% margin:
$6 ÷ (1 – 0.40) = $10 per shirt
Adjust based on your shop’s goals and market positioning.
Step 9: Benchmark Against Competitors
Research local competitors to ensure your pricing is competitive without undercutting your profits. Compare:
- Pricing tiers
- Setup and art fees
- Specialty service costs
- Turnaround times
Position your shop as the fastest, most affordable, or highest-quality option based on your strengths. Tools like automatic presses can help you stand out with faster turnarounds.
Step 10: Communicate Pricing Clearly
Transparency builds trust. Provide professional quotes that itemize:
- Garment costs
- Print locations and color count
- Setup and art fees
- Timeline
Use quoting software or online calculators to streamline the process and avoid undercharging.
Bonus Tip: Leverage Technology for Efficiency
Investing in tools like quoting software or screen printing equipment can save time and improve accuracy. Some tools integrate with POS systems for seamless order management, helping you scale your business.
Final Thoughts
Pricing is an ongoing task. Regularly reviewing your screen printing pricing ensures your shop remains profitable, competitive, and sustainable. At Anatol, we actively support screen printers in building sustainable businesses. To enhance efficiency or scale through automation, discover our selection of automatic presses and exposure units.
Have questions about scaling your pricing with automation? Contact us to discuss the right tools for your shop’s growth.