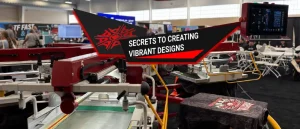
A heat transfer press is a simple machine that uses heat and pressure to add vinyl, foil, or digital designs to fabrics and more. Whether you’re creating custom T-shirts or personalized accessories, a heat press delivers professional-grade results. At Anatol Equipment, our awesome heat presses deliver quick, precise, and reliable prints, great for both newbies and pros.
Why Choose a Heat Transfer Press?
The heat press method is one of the easiest and most cost-effective ways to create custom apparel. With minimal experience, you can achieve vibrant, long-lasting designs on T-shirts, hats, bags, and more. Benefits include:
- Flexibility: Works with cotton, polyester, blends, and other materials.
- Consistency: Delivers uniform results with quick setup.
- Ease of use: Great for small home setups or large-scale projects.
Step-by-Step Guide to Using a Heat Transfer Press
1. Select the Best Heat Transfer Press Machine
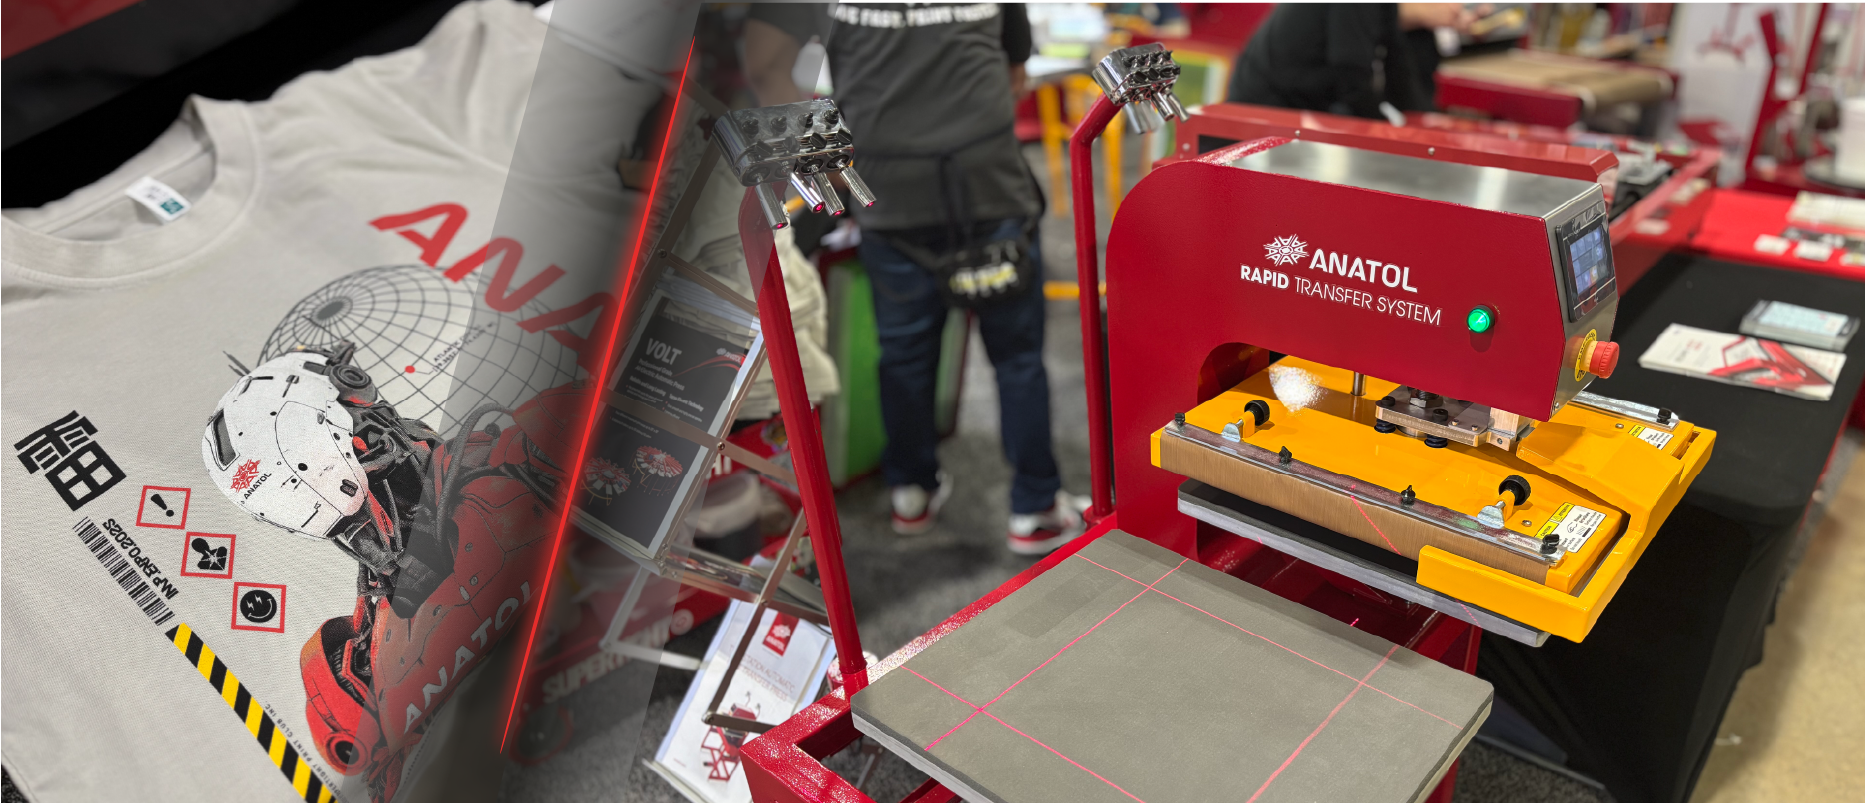
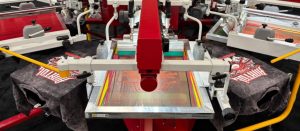
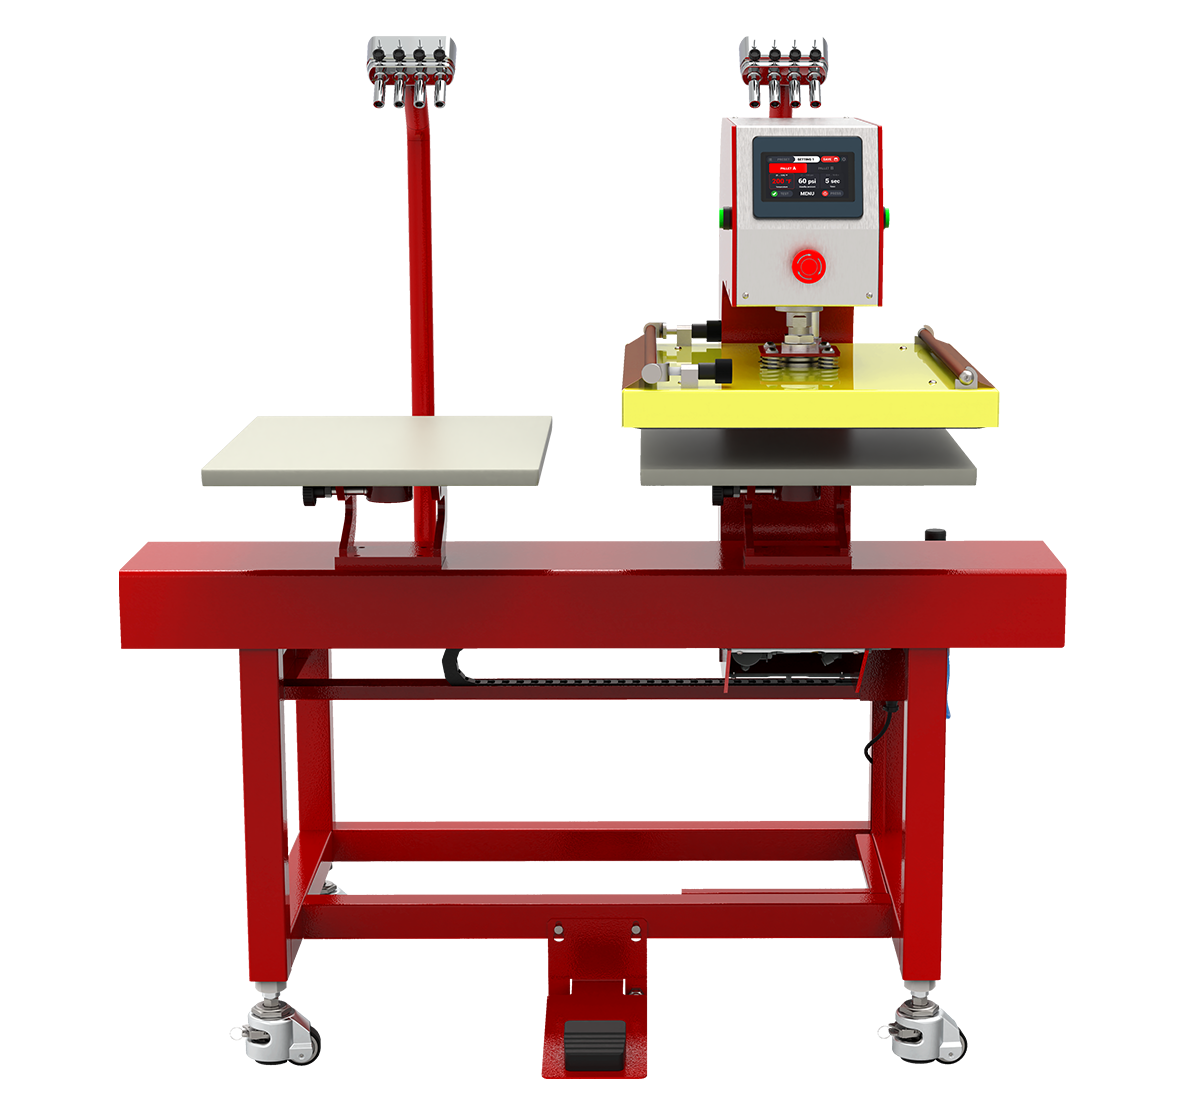
Choosing the right heat press is crucial for great results. For beginners, we recommend the Anatol Rapid Transfer System (RTS), a user-friendly option. This two-station automatic press makes printing easy. It features a touchscreen and a laser alignment system for precise design placement. With up to 120 psi of pressure, the RTS ensures flawless transfers every time.
Consider these factors:
- Size: A 15”x16” platen suits most T-shirt designs.
- Ease of Use: Look for intuitive controls and adjustable settings.
- Durability: Anatol builds machines to last for years.
2. Prepare Your Materials
Gather these essentials before starting:
- Substrate: The item you’re printing on (e.g., T-shirt, hoodie).
- Transfer Material: Vinyl, foil, or screen print transfer paper.
- Design: Create or buy a design, mirroring text or directional graphics.
- Accessories: Lint roller, heat-resistant tape, and parchment paper.
Pro Tip: Check the maker’s guidelines for your transfer material to make sure it works well with your fabric.
Finding the right set-up for your heat press may take some time. Temperature, pressure, and timing all depend on the material you’re heat pressing on, as well as the transfer material you are using. Make sure to do some research on your specific materials before starting.
3. Set Up Your Heat Press Machine
- Based on the transfer materials requirements, select the proper temperature, pressure, and time (the Anatol Heat Transfer Press allows you to input exact values, but some presses have less accurate controls).
- Preheat your press.
- Test on scrap fabric to confirm settings.
Anatol’s machines allow you to save settings, streamlining the process for multiple projects.
4. Position Your Design
Place your substrate on the lower platen, smooth out wrinkles, and use a lint roller to remove debris. Then:
- Align the transfer using a laser alignment system (available on Anatol RTS).
- If needed, secure the substrate with heat-resistant tape.
- Cover with silicone or parchment paper to protect heat-sensitive garments (Teflon sheets are not recommended).
5. Press Your Design
Lower the top platen and let the press work its magic. After the set time is up, lift the cover back up. Using an automatic press saves you time by automatically lowering and lifting with the inputted time, pressure, and temperature with no extra effort on your part.
6. Peel and Inspect
Lift the platen and peel the transfer paper. Some papers require immediate peeling, while others instead require the substrate to completely cool, so make sure to review the proper information before proceeding. Inspect the design, and adjust settings if needed.
And that’s it! Using a heat transfer press is the easiest way to start producing custom apparel, whether you’re a one-man-show or a large-scale shop. But don’t be surprised if your first print doesn’t turn out the way you want it to– successful heat pressing requires practice.
Common Mistakes to Avoid
Learning a new skill is always a game of trial and error. Make sure to look out for these common mistakes to improve your quality and leave your customers happy:
Misaligned Transfers
If you’re unsure how to align your transfer paper, double-check how the design will sit by previewing it using a design software. If you’re customizing a wearable item, you can even test out the placement on yourself through a mirror!
Anatol automatic presses feature a laser alignment system to help quickly identify the perfect placement of your design, streamlining the production process and improving the quality of your products.
Incorrect Settings
Thicker materials require more pressure, and heat-sensitive materials are prone to scorching on high temperatures. Make sure you test out your settings on a blank before pressing the final product! If your design just isn’t sticking, try adjusting your pressure first, then time, then temperature.
Poor Adhesion
Certain materials absorb moisture more than others. This can affect how well your design is applied. To avoid this problem, you can pre-press your substrate for a couple seconds before pressing with your transfer paper to remove the moisture.
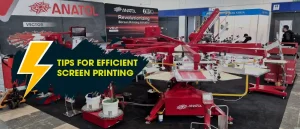
Why Choose Anatol’s Heat Transfer Presses?
Anatol’s machines, like the Rapid Transfer System and Mobile Forge, offer:
- User-friendly touchscreen interfaces.
- High pressure (up to 120 psi) for perfect transfers.
- Adaptability, with quality results using all kinds of materials and transfer styles.
- Durability, trusted in over 70 countries.
Explore our heat transfer press collection to find the right machine. Jump in and start creating with confidence! A heat transfer press is a fun and accessible way to create custom designs. With Anatol’s reliable machines, you’ll produce professional, high-quality prints quickly. Ready to begin? Visit our Heat Transfer Press collection or contact our team for expert advice.