
Revolucionando la industria de la serigrafía a través de tecnología de punta y servicio de calidad
Anatol Equipment Manufacturing Co.
1429 S Shields Dr
Waukegan, IL 60085


Revolucionando la industria de la serigrafía a través de tecnología de punta y servicio de calidad
Anatol Equipment Manufacturing Co.
1429 S Shields Dr
Waukegan, IL 60085

As your screen printing business grows in size, skill and reputation, your customers likely will be bringing you more complex prints. At the same time, you might be feeling ready to tackle a new challenge and learn a new technique. For creating intricate prints that are sure to wow your customers and draw attention to your work, try your hand at simulated process screen printing!
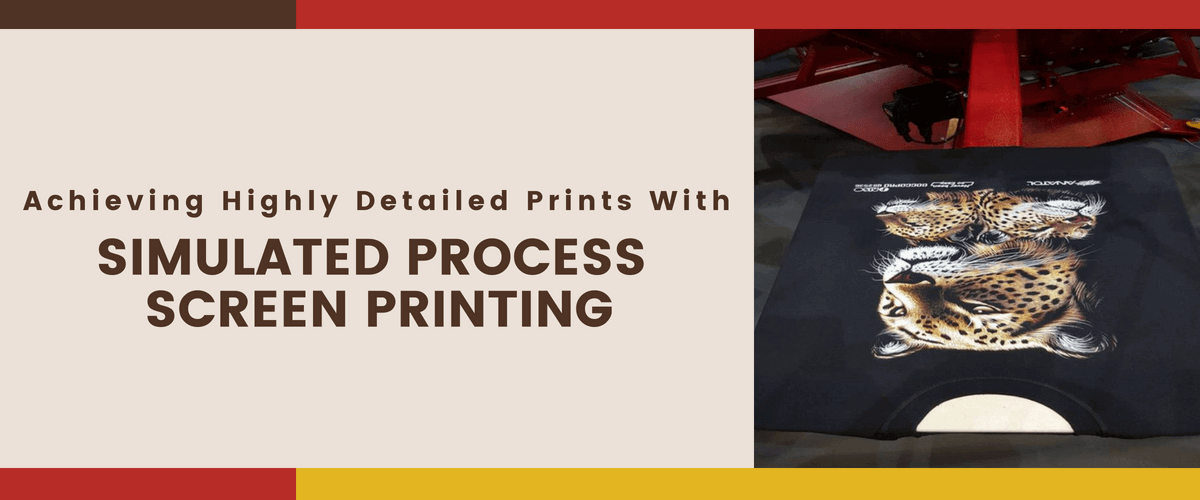
Simulated process involves printing a series of halftone dots to create a larger overall image. The tiny halftone dots allow you to create extremely fine details in your screen prints. Where different colors of dots overlap, your individual ink colors begin to blend together. That means you can create an image with dozens of colors while using only a handful of ink colors. The results of simulated process screen printing are intricate, often photorealistic images — think of comic book images or newspaper photos; close up, you see tiny dots of colors but from far away, you see realistic, detailed images with a rich blend of colors.
As with any new screen printing skill, learning to use simulated process printing allows you to offer an expanded range of prints to your customers. So what exactly can you do with simulated process? As mentioned, you can create detailed gradient images with simulated process. In the past, these detailed images were created using true process printing; that is, using the four basic CMYK colors — cyan, magenta, yellow and black — to create realistic gradient images. That meant having specialty inks on hand for process jobs, and those inks had limits. With simulated process screen printing, you can use the plastisol inks you have on hand to create your detailed gradient images. Plastisol inks are more opaque, which allows you to print simulated process images on dark substrates more easily than with other types of ink.
When you’re getting started screen printing with simulated process, most of the learning curve comes in learning how to separate and prepare the artwork. When separating artwork, you will have to learn to choose which colors to separate, as well as which halftone dot settings will work best for you. From there, the screen making and printing process really comes down to following a clean, best practices process. You need to make sure that your film positives are perfectly opaque; halftone dots are so detailed that your screens will have to wash out perfectly to reflect those details. You’ll print on a finer mesh, and your screens will have to be well-tensioned and in good repair. Ensuring that your print comes out perfectly means taking all the steps necessary to guarantee perfect registration, such as tightening platens and print heads before printing, making sure your screens and squeegees are in good repair and making use of pallet adhesive.
When it comes to learning how to undertake simulated process screen printing, you have to realize that you’re learning one of the more challenging types of screen printing. Honing your skills, however, will be well worth it when you can offer your customers innovative, detailed prints full of great colors.
Your message was successfully sent!