
Революция в индустрии трафаретной печати благодаря передовым технологиям и качественному обслуживанию
Anatol Equipment Manufacturing Co.
1429 S Shields Dr
Waukegan, IL 60085


Революция в индустрии трафаретной печати благодаря передовым технологиям и качественному обслуживанию
Anatol Equipment Manufacturing Co.
1429 S Shields Dr
Waukegan, IL 60085

Properly exposing your screens, preparing your inks and setting up your screen printing machine for each printing run will help you turn out high-quality prints every time.
Before you begin the exposure process, there are two checks you should be performing. First, you should have a humidity gauge in your dark room. If the dark room is too humid, the emulsion won’t stick to the screens or dry thoroughly. Next, check the tension on the screens you plan to use. If your screens aren’t taut enough, they will shift during printing, causing blurry prints and poor registration.
Once you know your dark room and your screens are ready, make sure you thoroughly clean your screens to be free from dust or particles that could have collected on them since their last use. Spray your cleaned screens lightly with a degreaser to help the emulsion adhere better.
Beginning with the side of the screen that will come into contact with your substrate and working from bottom to top, apply even coats of your light-sensitive emulsion to both sides of the screen using a scoop coater. Let the emulsion dry completely in a horizontal position — the racks in your washout station are a great place for drying.
Your screens are now ready to expose! While any UV light source, even sunlight, can be used to expose screens, an exposure unit designed for the task is ideal because you know the exact dose of UV light your screens are getting, which allows you to properly expose the screens according to the emulsion manufacturer’s recommendations.

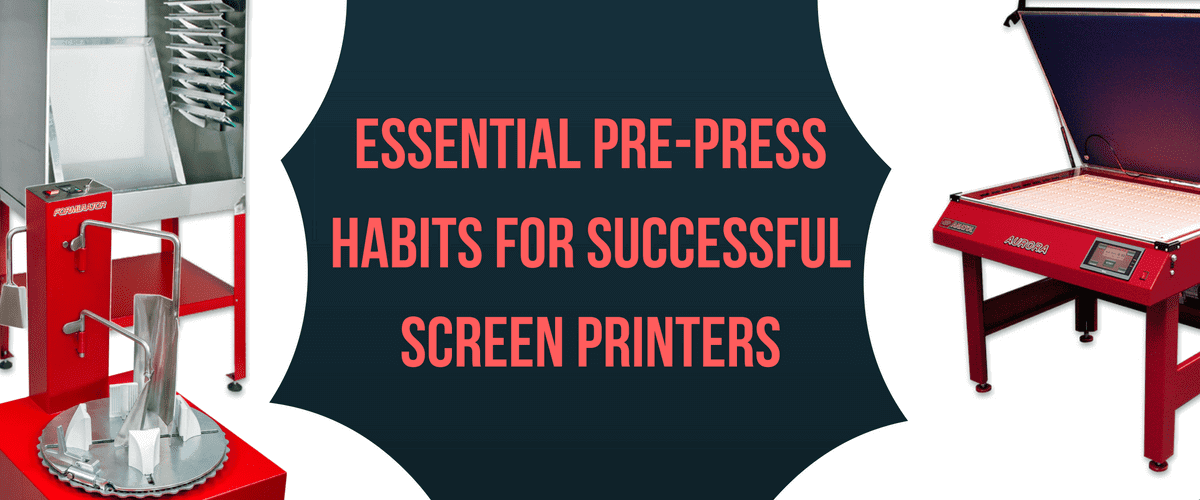
Anatol’s Aurora UV LED exposure unit will expose your
screens quickly, efficiently and with sharp detail.
Put your stencil against the glass of your exposure unit, insert your screen and let the exposure unit do its job. With the screen exposed, return your screen to your washout station and evenly spray both sides of the screen with warm water to reveal your stencil.
Your screen printing ink prep will depend on the type of inks you use in your shop and whether you buy individual colors from an ink supplier or you mix your own colors. We recommend using an ink matching system, along with Pantone color swatches. Ink matching systems allow you to mix together colors following a Pantone Color Matching formula to achieve a near-perfect match to any color your customers request. An ink matching system can save you from having to stock a lot of different colored inks or from turning away customers because you don’t stock the colors they want.

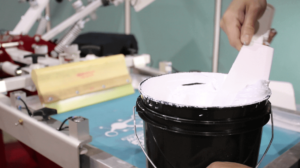
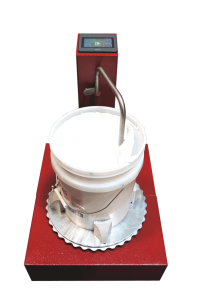
Whether you’re mixing your own colors or prepping straight-from-the-bucket inks, your inks will need to be mixed! Ready bought colors require a thorough mixing to improve their texture, and more often than not, you will want to mix in a thinning agent to achieve the ink texture you prefer while printing. While mixing can be done by hand, an ink mixer ensures that your inks are completely and evenly mixed, so you don’t have to worry about clumpy textures or blotchy colors.

Tired of mixing your ink by hand? Let the
Anatol Formulator ink mixer do it for you!
Even if you’ve been using your screen printing machine all day, you should be checking and prepping the machine in between each screen printing run. Make sure the pallets are secure so you know they won’t shift each time the screen comes down, causing blurry prints. Also check your off-contact and set it to the ideal distance for the substrate you’re about to print. This will help you ensure good registration for each screen printing run.
Once you’ve properly exposed your prints, mixed your inks and prepped your screen printing machine, you’re ready to begin your printing run! With the proper prep work done, you can be ready for a successful screen printing job.
Want to find out more about how Anatol equipment can help you set up your print jobs for the best results? Let’s talk shop!
Your message was successfully sent!