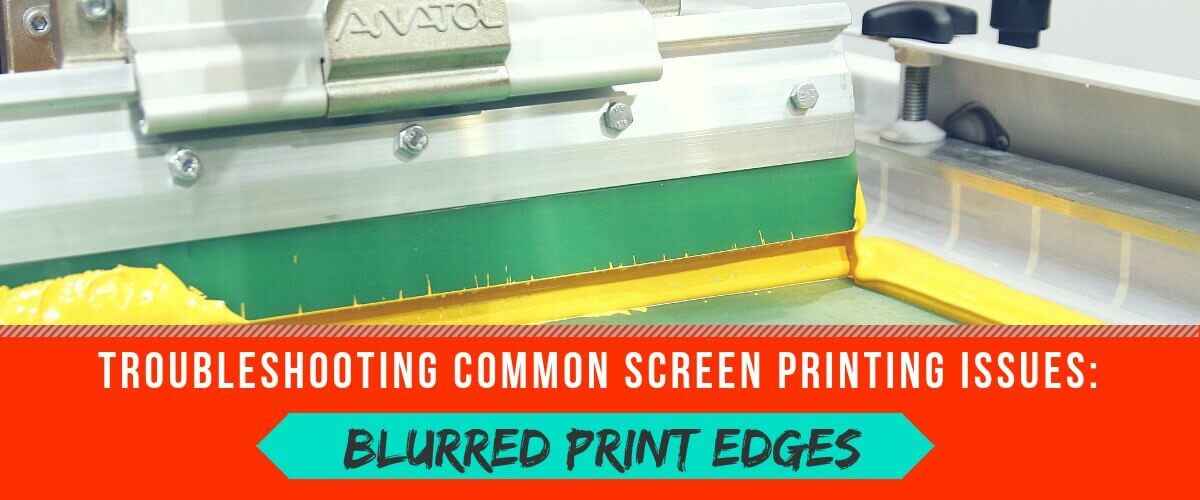
Mastering screen printing doesn’t mean turning out perfect screen prints every time. It does mean knowing what to do when prints don’t turn out quite the way you want them to. One common problem to troubleshoot is an uneven ink edge. When something is off in your screen printing process, the edges of your ink might be blurred or wavy, or show the squared segments of your screen mesh. There are several elements to examine when your prints aren’t coming out with crisp, clear edges.
Screen Tension
A screen tension meter can be a very valuable tool to ensure your print quality stays sharp. For optimal screen printing, your screen tension should be measuring between 25 and 35 N/cm². Screens loosen over time due to the constant pressure of the squeegee. When screen tension becomes too low, the mesh can shift during printing, causing the edges of the print to blur. You can avoid this problem by checking your screens before every screen printing job with your tension meter. Screens whose tension has decreased beyond the desired range should be retensioned or replaced.
For more information on screen printing problems associated with poor screen tension, check out this blog: What Causes Poor Screen Tension and Why You Need to Avoid It
Substrate Movement
Blurred edges on a screen print also can indicate that your substrate is moving during printing. First, check your pallets to make sure they are not loose; this is a check you should make before each screen printing run. If your pallets are tight, evaluate the adhesive you’re using to keep substrates in place. Spray adhesives are easier to apply, but they can break down faster than their water-based counterparts. If you are printing with a fleece or heavier fabric, your screen printing job might require a specialty adhesive.
Off Contact
To produce a crisp screen print, the screen needs to be able to snap upward, shearing the ink as the squeegee passes. Setting your press to have an adequate off-contact distance creates the room necessary for the screen to snap up and away from your screen printing substrate. For lighter substrates like t-shirts, you’ll want to set your off-contact distance at 1/16 of an inch; for thicker substrates like fleece, you may need to increase your off contact up to 1/8 of an inch. If your standard off-contact distance is still producing fuzzy results, you may want to consider adjusting that off-contact distance and performing a trial run of your screen print.
Ink Viscosity
While many inks are marketed as being print ready, the truth is that few are. At the very least, you should thoroughly mix your ink, and you may need to mix additives into the ink to thin it out or to tailor it to your project, such as by adding a low-bleed additive. These additives can thin your ink beyond the ideal viscosity, allowing your ink to bleed beyond the bounds of your stencil during printing.
Stencil Problems
If you’ve set up your press properly and addressed any issues with your ink and other equipment, but your screen prints still have blurred edges, you need to take a look at your stencil. If your emulsion wasn’t exposed properly, the edges of the stencil may weaken during washout or during printing and jeopardize the edges of your images. An emulsion that was too thin or that didn’t span the grid of your screen adequately can cause the blocks of your screen to show on the edges of your screen print.
For some more tips on creating stencils with crisp edges, check out this blog:
Helpful Tips for Avoiding Jagged or Blurry Edges in Your Screen Printing