A high quality multicolor screen print depends on tight registration — here are some ways to achieve it!
This article was written for Printwearmag.com by Michael Jirasek
Once upon a time…
Some people viewed it as an art that could not be taught. To others it was a mystery that only a special few with “the eye” could solve. For the rest, it was hours of toil and perhaps a bit of luck to get a multi-colored job properly aligned on press.
As the years have passed, registration systems have been developed and refined. They are an essential tool in many screen printing shops. There are documented do-it-yourself options that work fine, and there are some systems exclusive to certain manufacturers’ presses that cost thousands of dollars. These systems tout greater accuracy and speed with their use. Regardless of which system you choose, it’s important to have a registration system and use it regularly and properly. There’s no doubt that even basic DIY registration systems save time and money (headaches too).
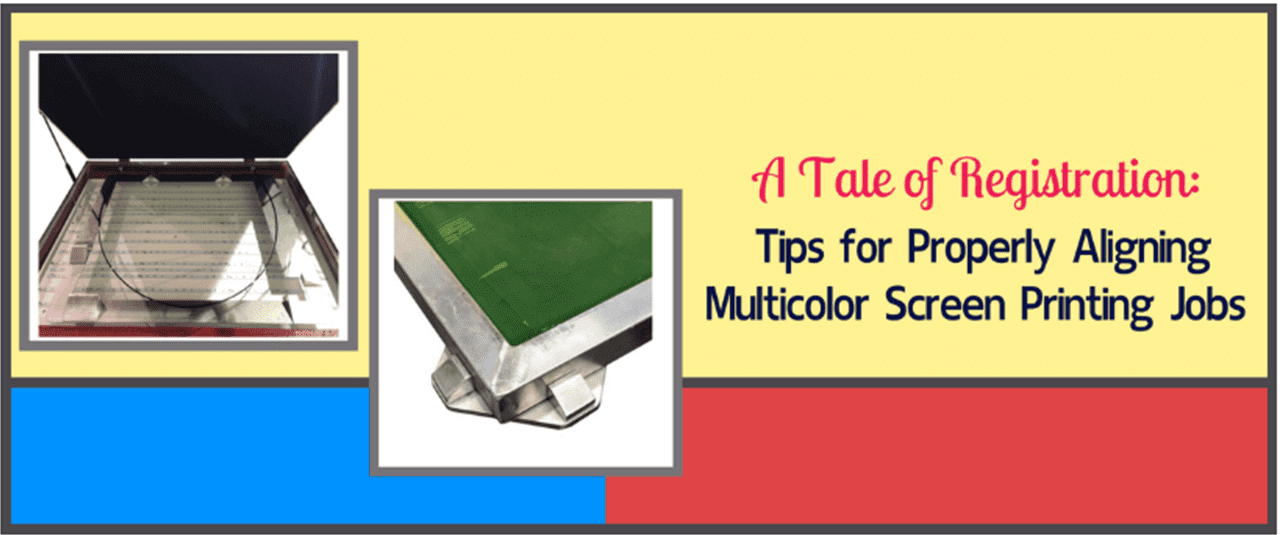
A registration or grid system has many pieces and steps that need to be in harmony to deliver the goods; it’s necessary to help ensure efficient use of time and maximize your production. It all begins with pre-press in the art room to the proper placement of the film on the screen to be exposed, and finally the alignment of the screens on press with necessary fine tuning done with micro-adjustments. While commercially available registration systems may have some differences, they all take into consideration these fundamental steps.
Do-it-Yourself Multi-Color Registration
You first must work with the separated artwork and its placement using registration marks, or a simple “+” on each piece of film or vellum. Make the marks large enough so they’re visible after you shoot your screens. (We’ll talk briefly about CTS/DTS later.)
Let’s begin with a simple way to register screens for a multi-color print that won’t cost you thousands of dollars. Before exposure, center your film with appropriate registration marks on the screen or exposure unit, with the top of the image area about six inches down on the screen. You can use a t-square for this purpose, but eventually you’ll devise a grid or template (using registration marks that best suit your needs) to maintain accuracy and speed things up. Here’s a brief overview – you’ll often need to double check yourself as you progress through the steps, especially at the beginning:
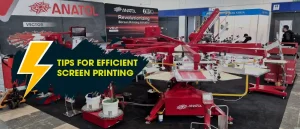
- Center (some people draw a line down the middle, others will develop a template) and place your main film positive on the pallet and tape it. No tape should come in contact with your image area.
- Place your screen so it is aligned with the film on the pallet and partially secure it with the clamping system you have.
- As you have placed registration marks on each of the separated layers, now line up your screens accordingly in each print head of your press.
- Fully secure your registered screens with your screen clamps.
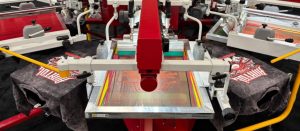
- Double check yourself to ensure all screens are properly aligned. Make adjustments with your micros as needed (if available).
- If everything appears okay, remove the film you had attached to the pallet. Don’t tape off or put a block out on your registration marks yet.
- Put ink in your screens and do a test print on a pellon, test shirt or piece of fabric. Adjust as necessary until the image is accurately registered.
- Block out the registration marks and begin production.
There are other DIY systems, so do your due diligence and find one that works for you.
Registration Systems and More
What if you want a manufacturer’s registration system that’s all ready to go and comes with easy to follow steps? Most screen printing companies have developed their own such systems. Be careful as some are designed exclusively for use with their own presses. They do cost some money, but the promised payback comes quickly as you print more multi-colored jobs. One other thing to keep in mind – different sized screens often require different systems.
With the advent of direct-to-screen (DTS) and computer-to-screen (CTS) technology, systems are available that eliminate the need for film, expose lightning fast and prevent exposure issues such as undercutting; they almost provide their own registration system. Once again, do your homework and invest in what suits you best – and print happily ever after.Anatol’s ARME (Anatol Registration Made Easy) registration system will help
you save time and boost precision when registering multi-color screen printing jobs.